I made an Octolamp!
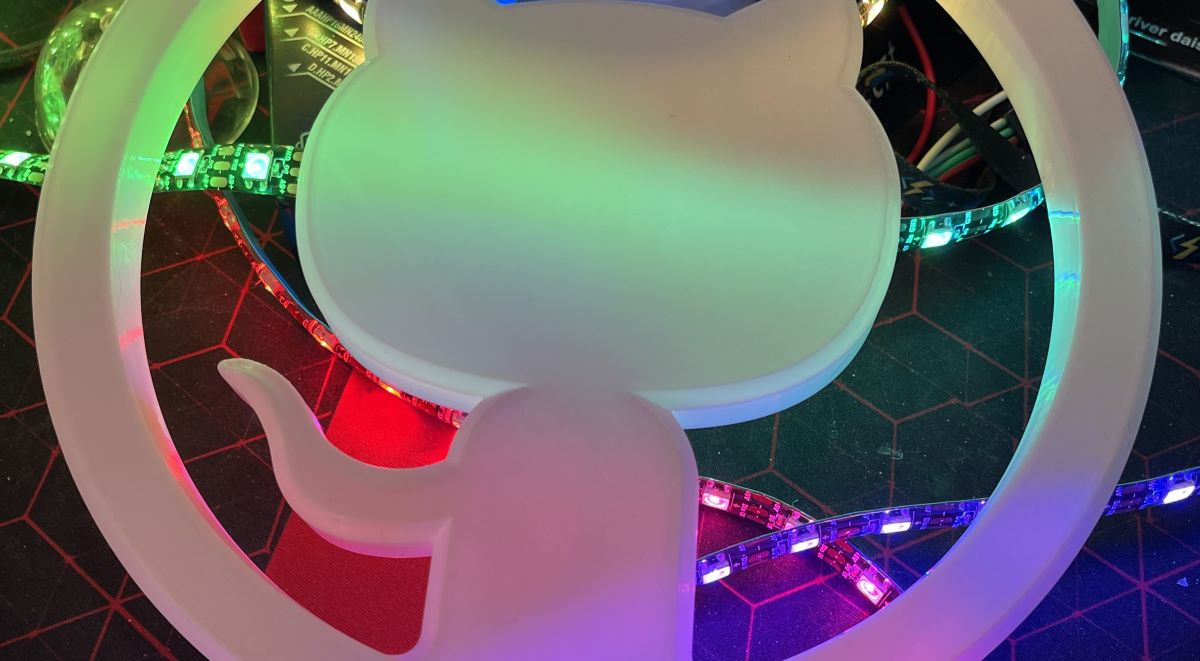
Earlier this year I noticed a very cool project posted by Martin Woodward. He had made an Octolamp, a 3D printed Octocat (mascot and logo of GitHub) lit by RGB LEDs inside it that could be controlled via Wi-Fi using a web interface and API. I have a bit of a history with loving things that light up and have cool designs attached, so I thought this was a really cool project to build. I had a few ideas for how I could make it my own and I wanted to make one myself. Only problem was, I had no way to 3D print my own.
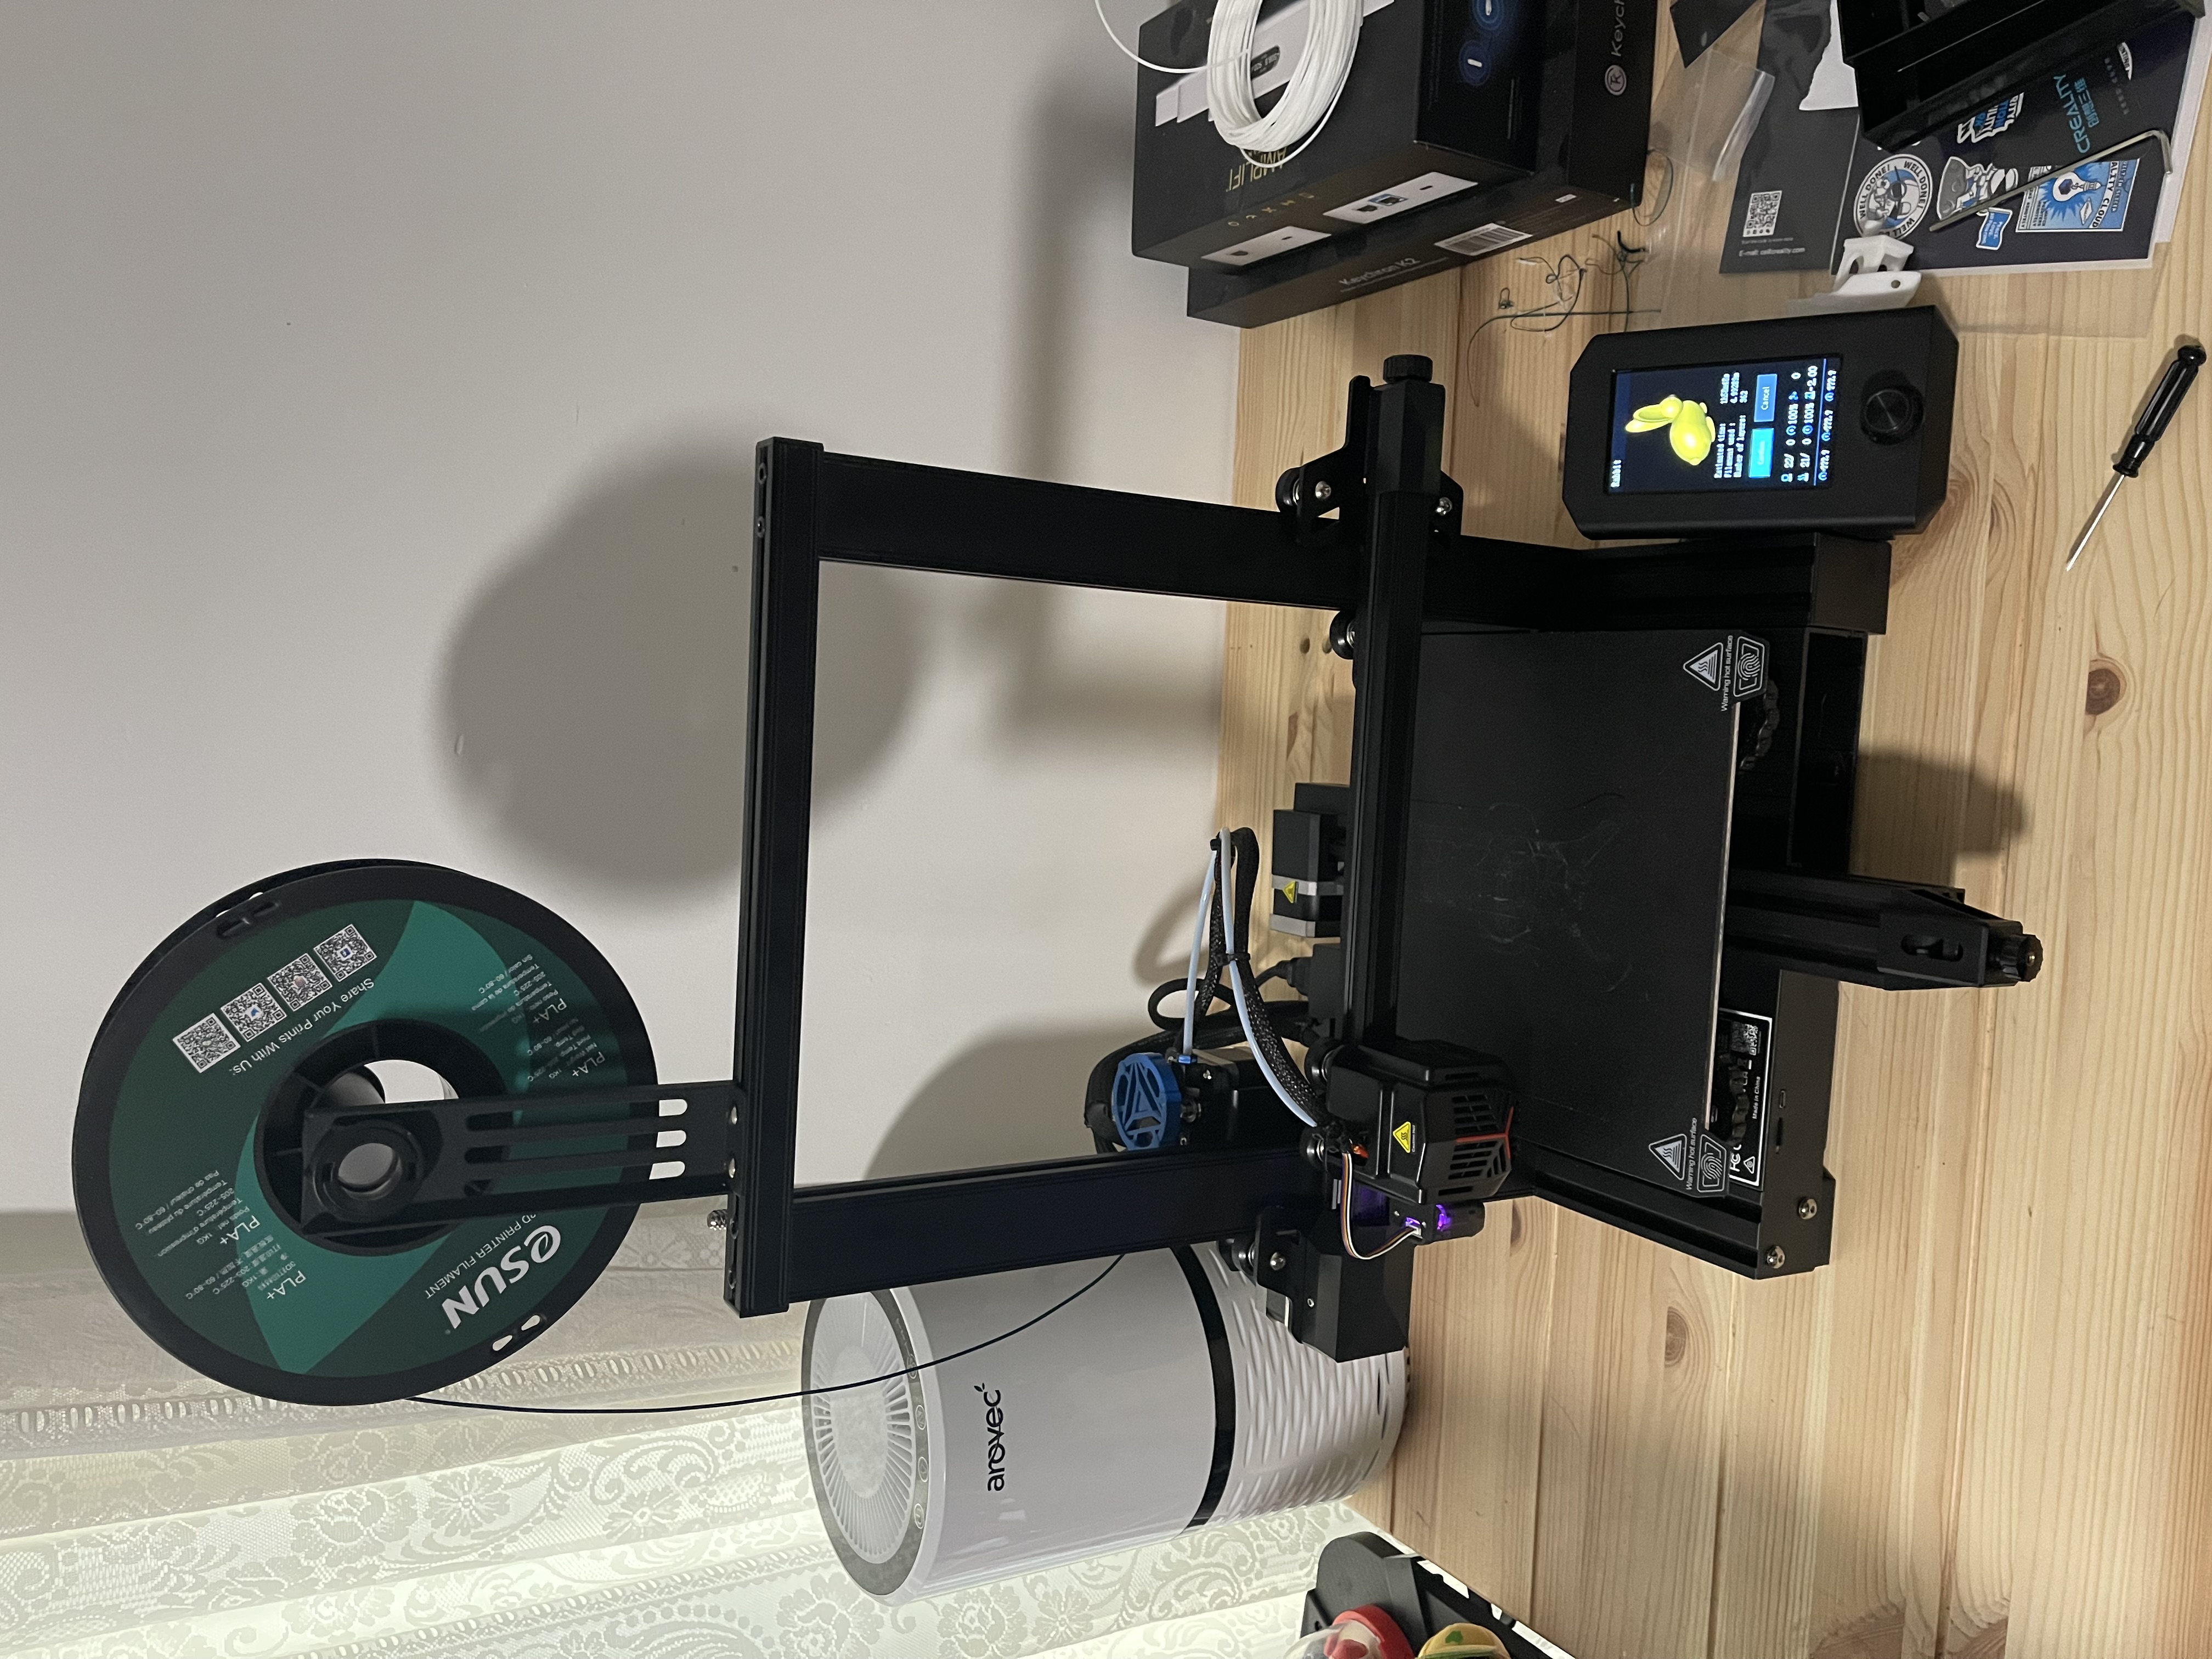
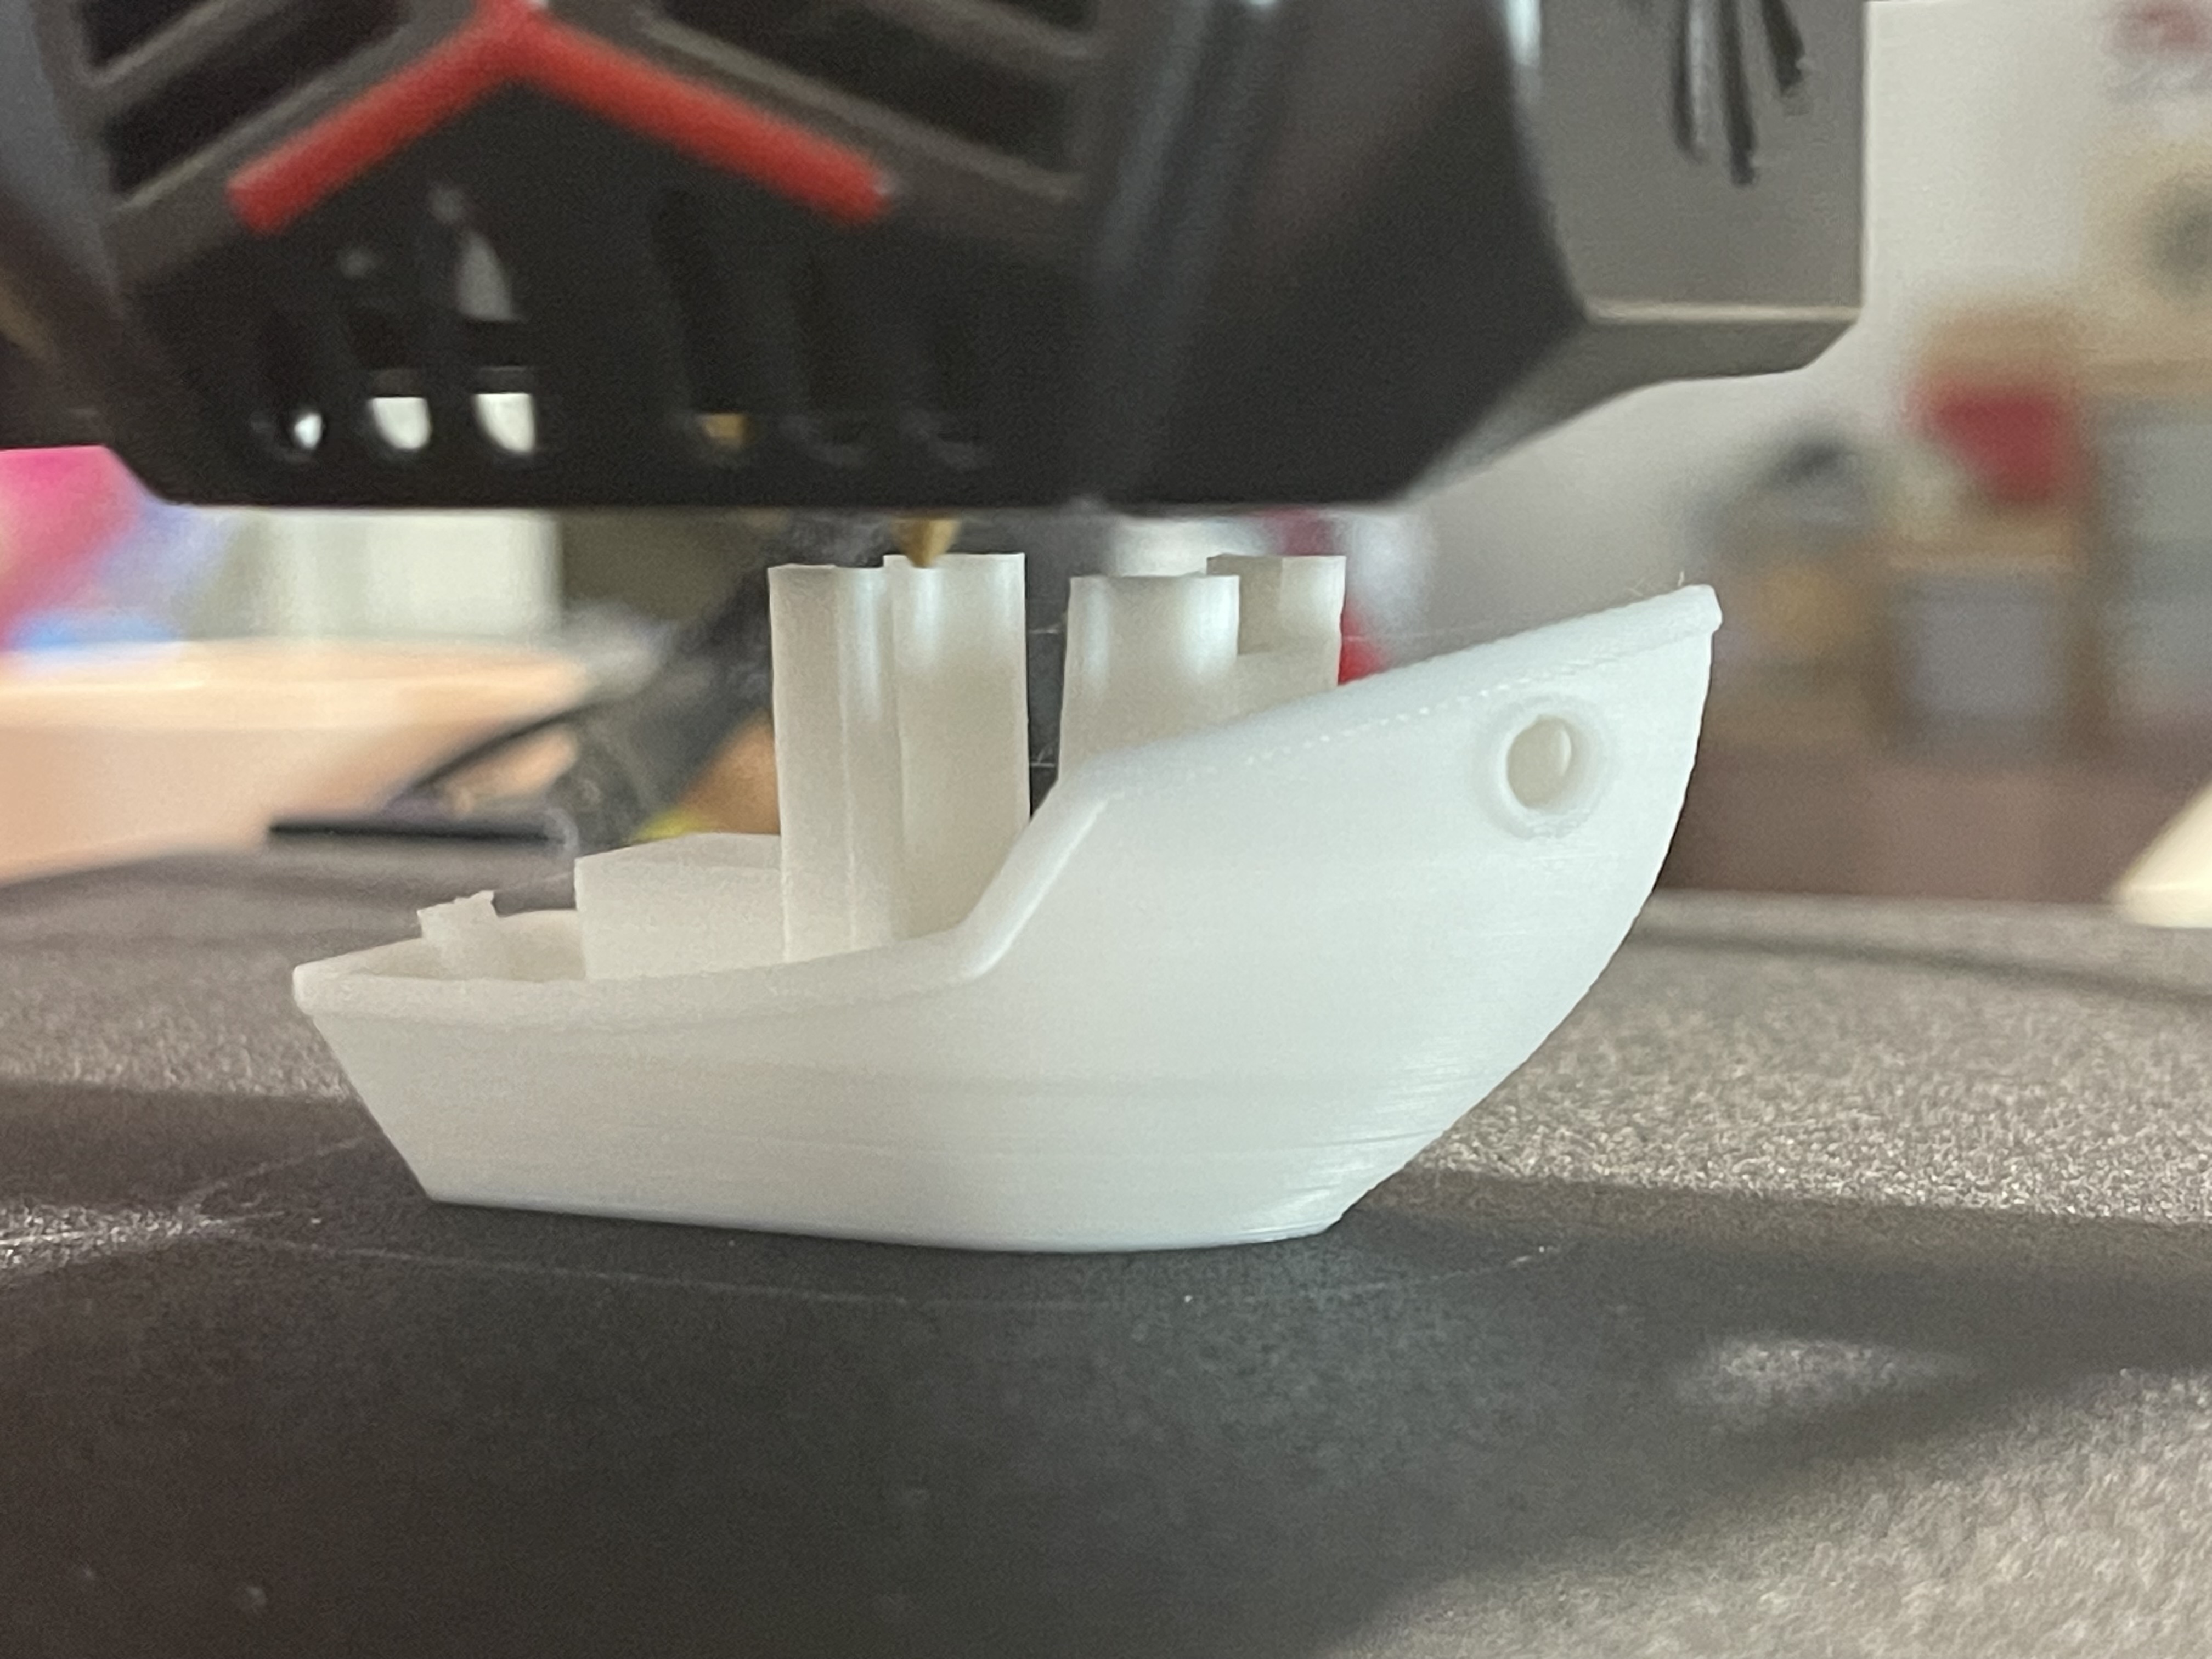
Fast forward a few months and my family got me a 3D printer for my birthday, a Creality Ender 3 v2 Neo. I was very excited to get my hands on it and start printing things, and I knew exactly what I wanted to print first. After a few weeks of learning, testing, tweaking, and many 3DBenchys, I finally felt confident enough to start printing a large project like the Octolamp.
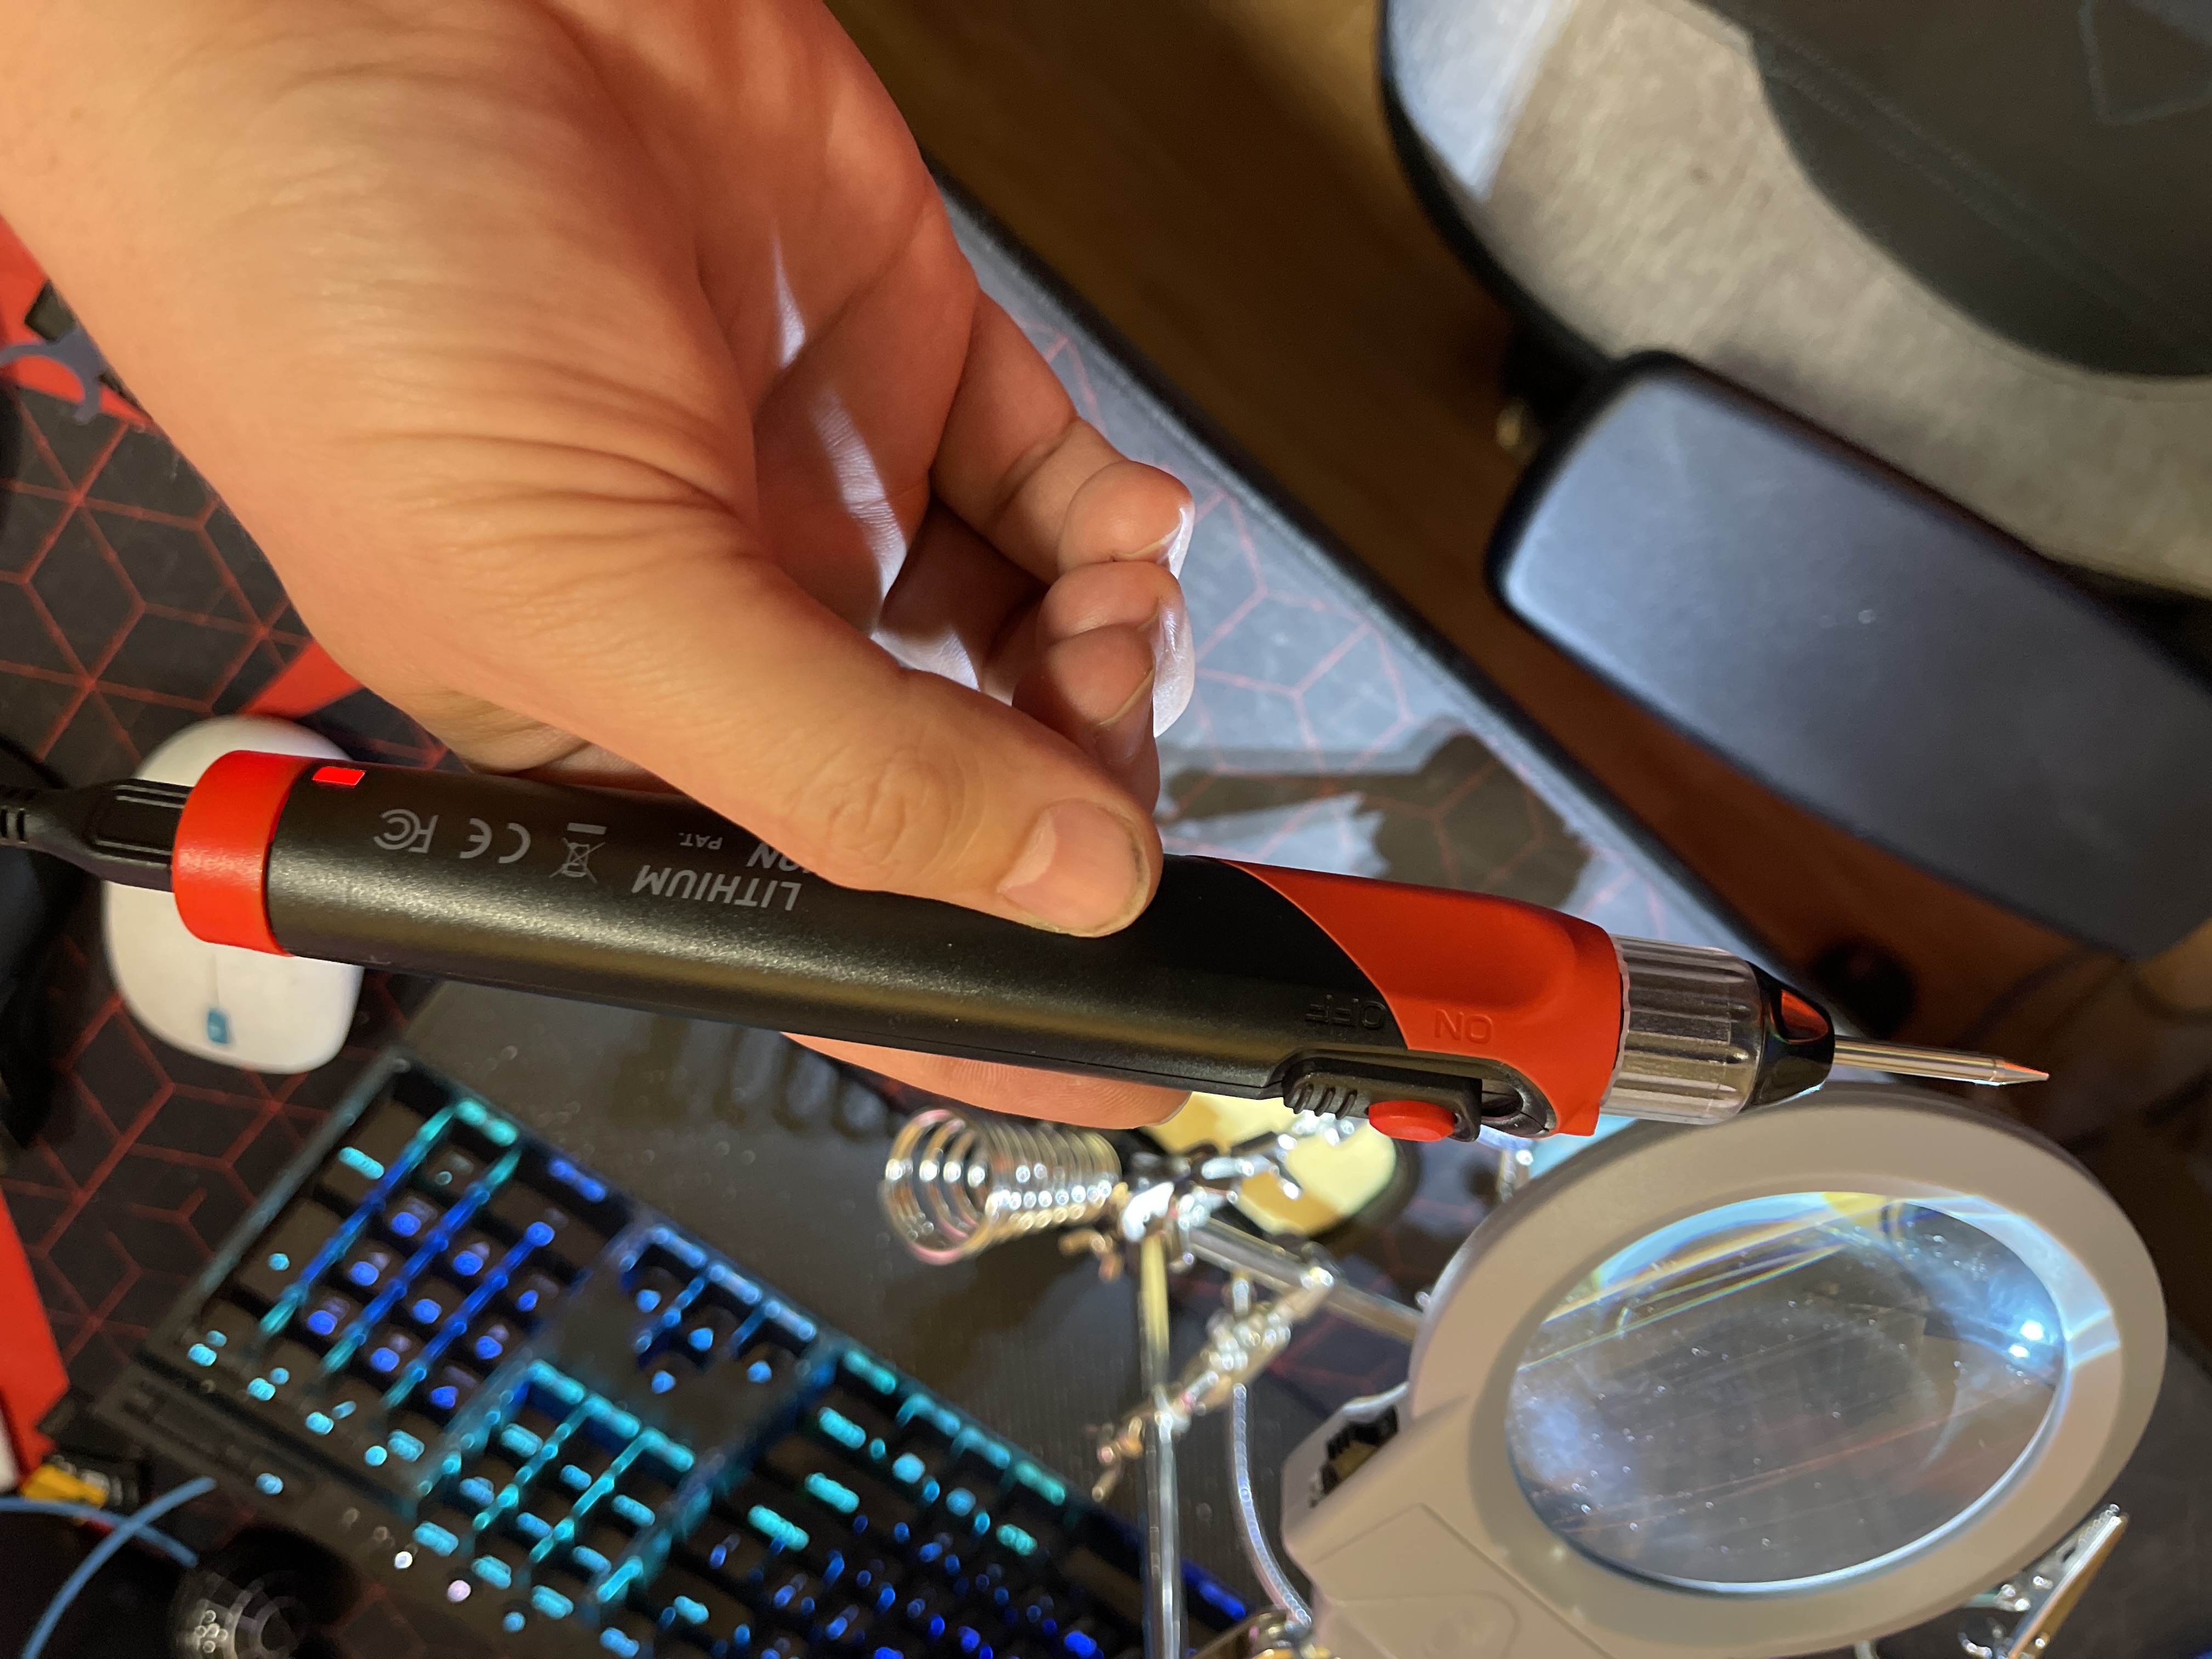
I picked up some white and black PLA to make the print and found that my local, friendly, electronics store Jaycar, who had also been our go-to for the Ender 3, carried all of the internal components I needed as well. I picked up a Duinotech ESP8266 Mini, a Duinotech WS2812B RGB LED strip, as well as a little self-congratulatory promotion present of a Rechargeable Soldering Iron to put it together as my old soldering iron was not in the best shape.
Armed with all the parts, I went to work, first forking and cloning Martin’s repo and importing the parts into the slicer software to get them ready to print. I had to do a bit of tweaking with the settings for the prints, as I needed the front diffuser and inner reflector to be good quality in the white PLA, but using the same settings for the black PLA case would result in a full 24 hours of printing, which I was not comfortable with at this time. So, I added in a lower quality, therefore faster, print output to get it down to 9 hours. I printed the parts over the course of a few days with no issues printing the white pieces, but a small mistake on my part in the slicing of the case causing a failure at 90 minutes in. Quick adjustment and the retry printed great! As a bonus, my 3 year old daughter has a new outline of a cat for her dressing table mirror, she loves it and no waste!
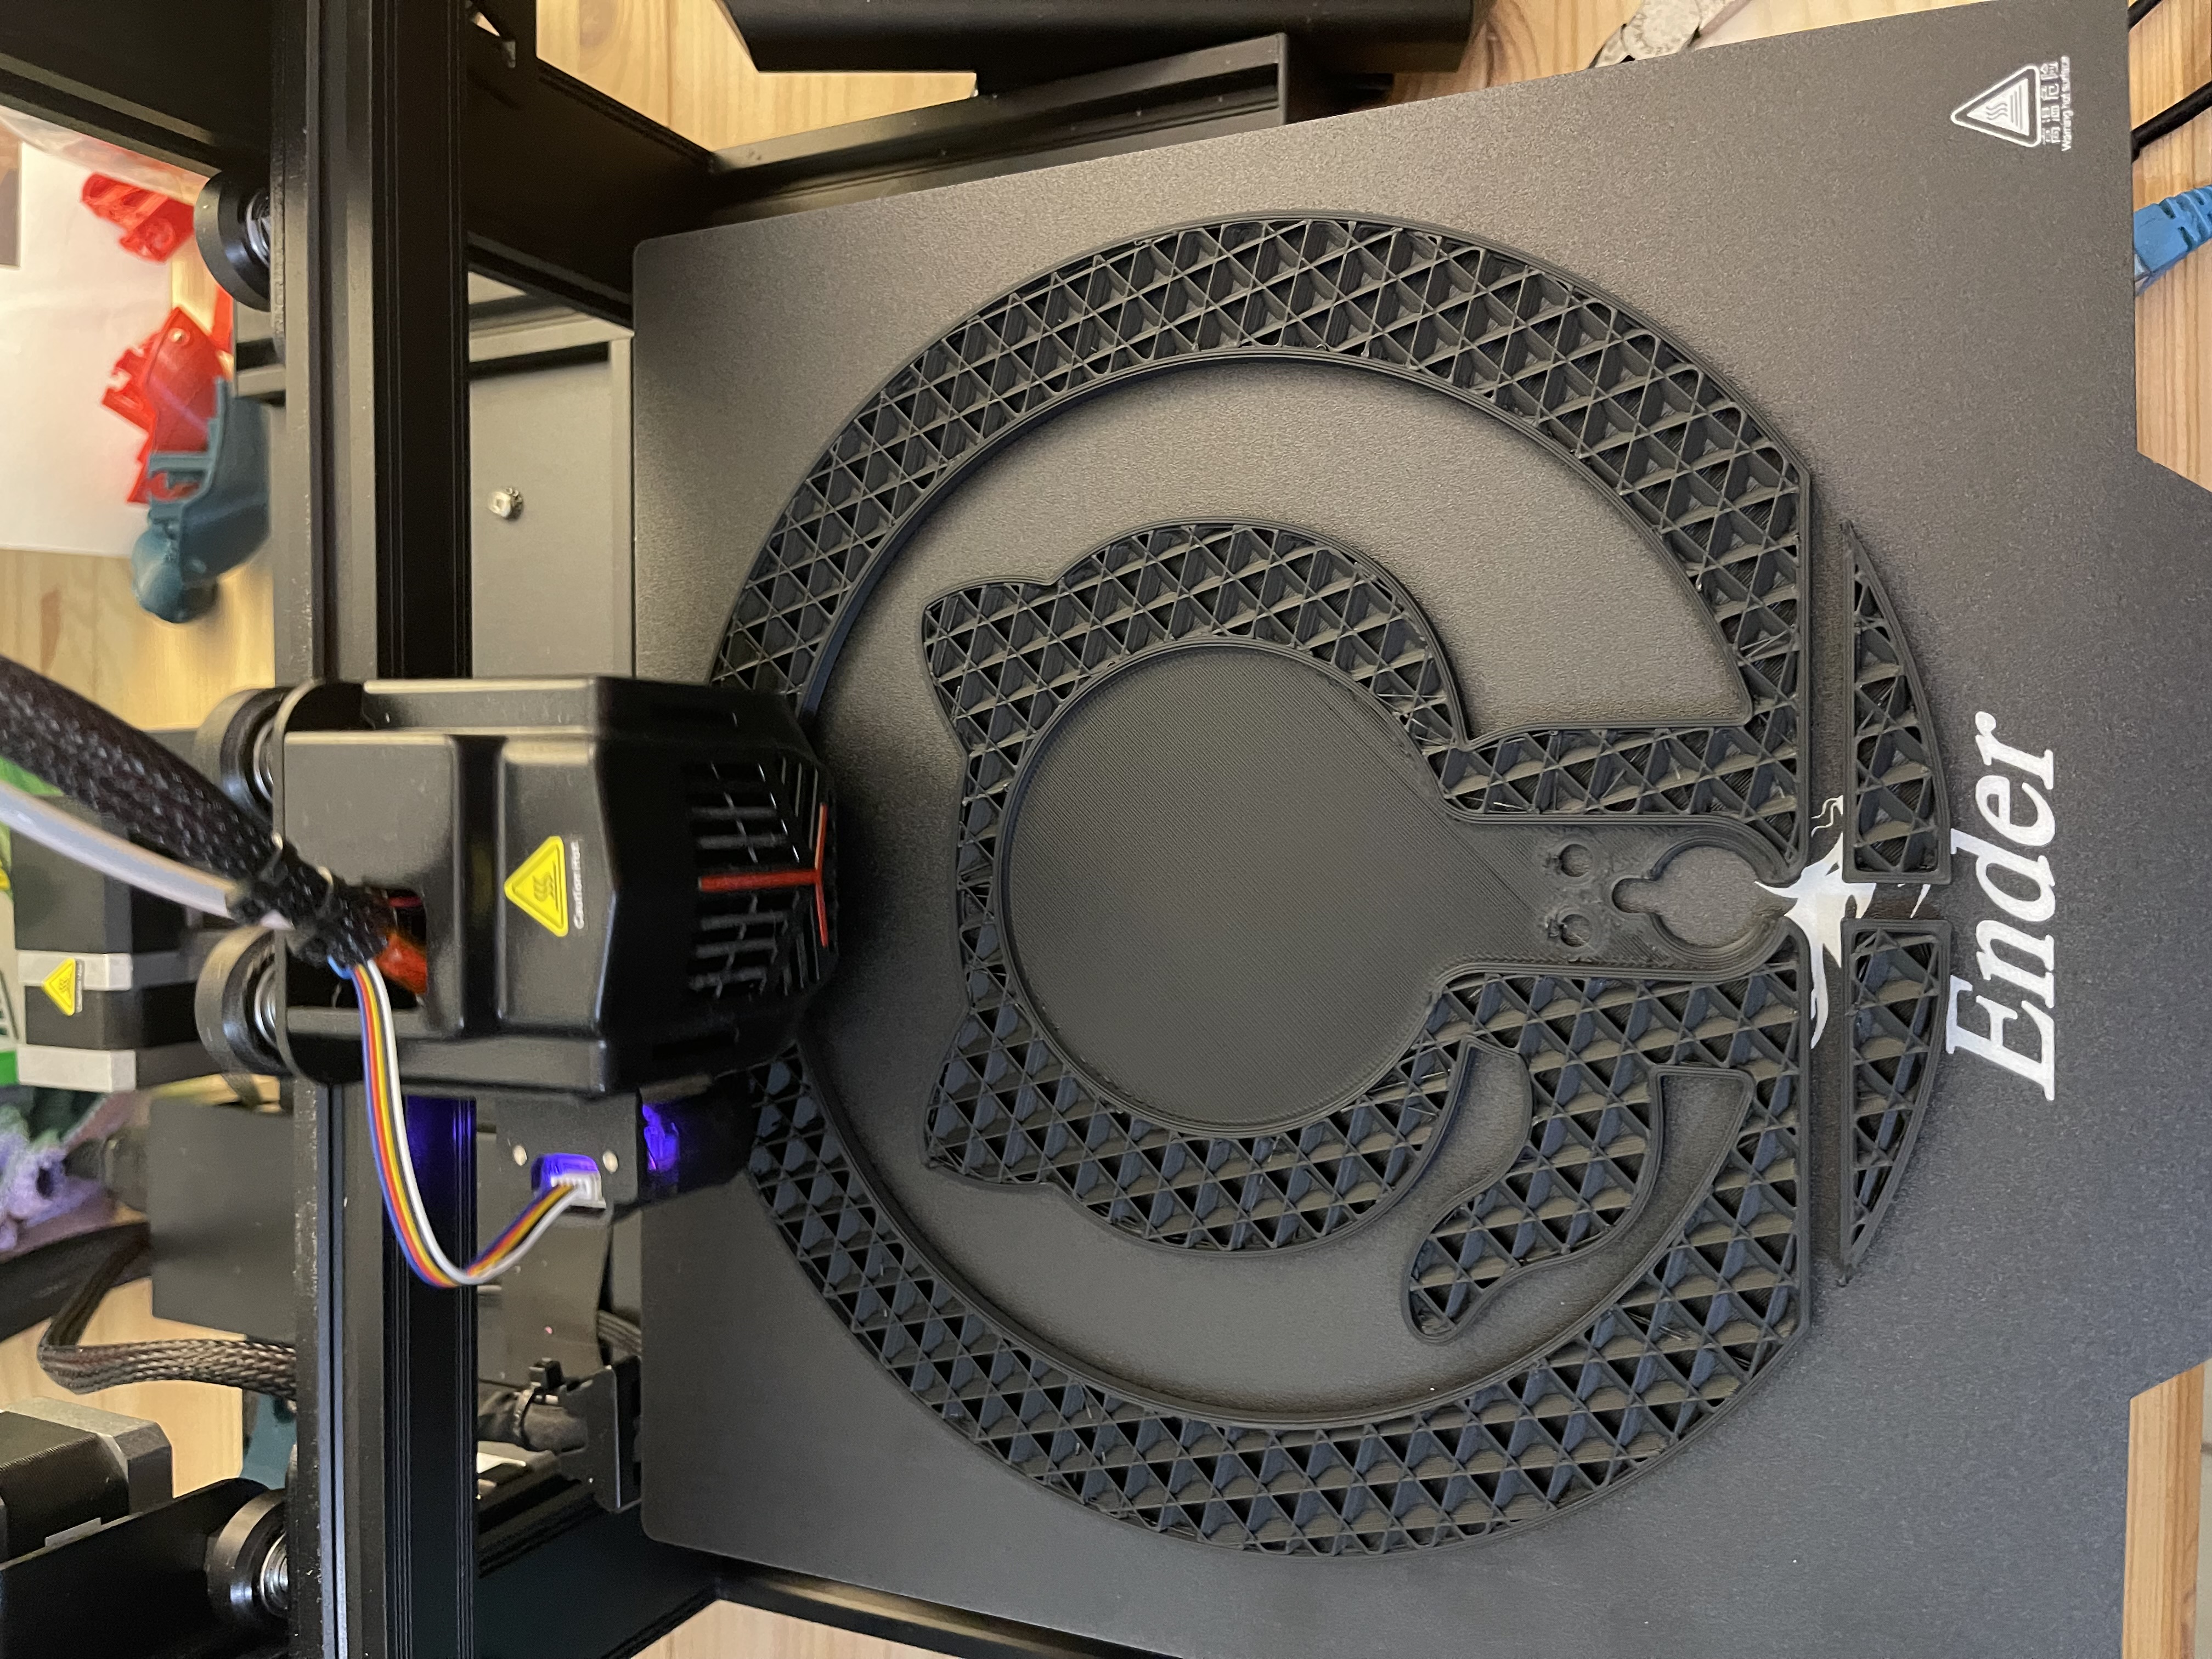
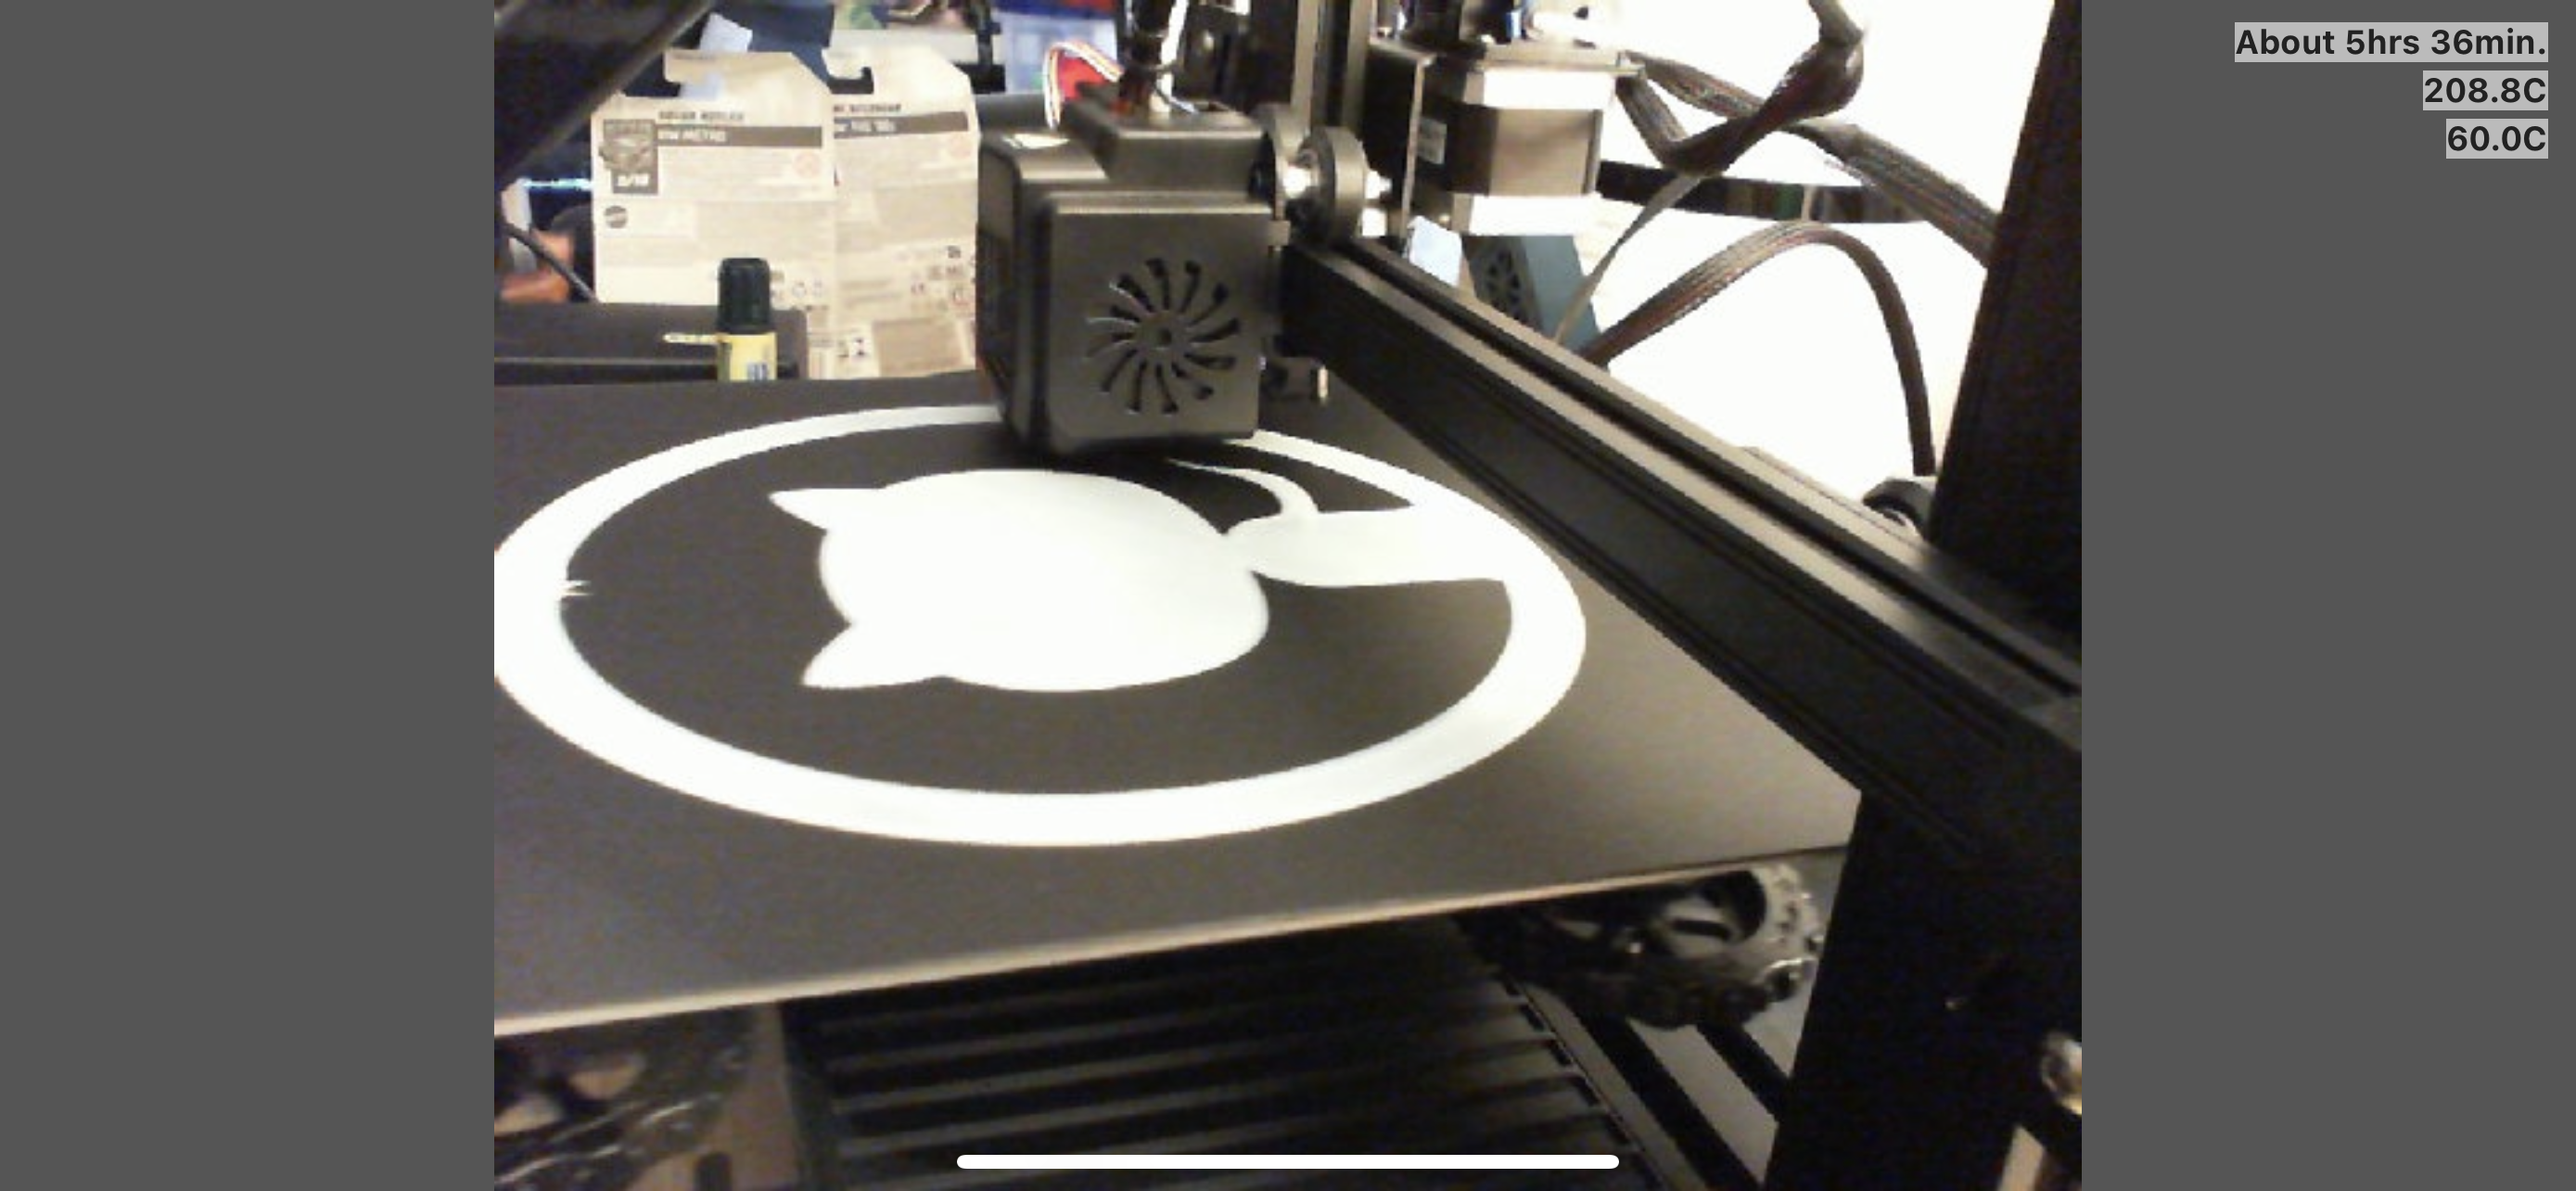
While that was happening, I soldered the wires for the RGB LED strip connector to my ESP8266 Mini, plugged it in and flashed it with WLED using their amazingly cool web installer. Hooked it up to Wi-Fi and the light strip to test and it came out great! So many cool configuration options to make it do all sorts of things! Once the front diffuser was printed, I installed the lights in it, needing a little glue to convince some of the LEDS with strange bends to stay in place, cut to length and configured WLED with the new length and configured the number of LEDS in each of the segments.
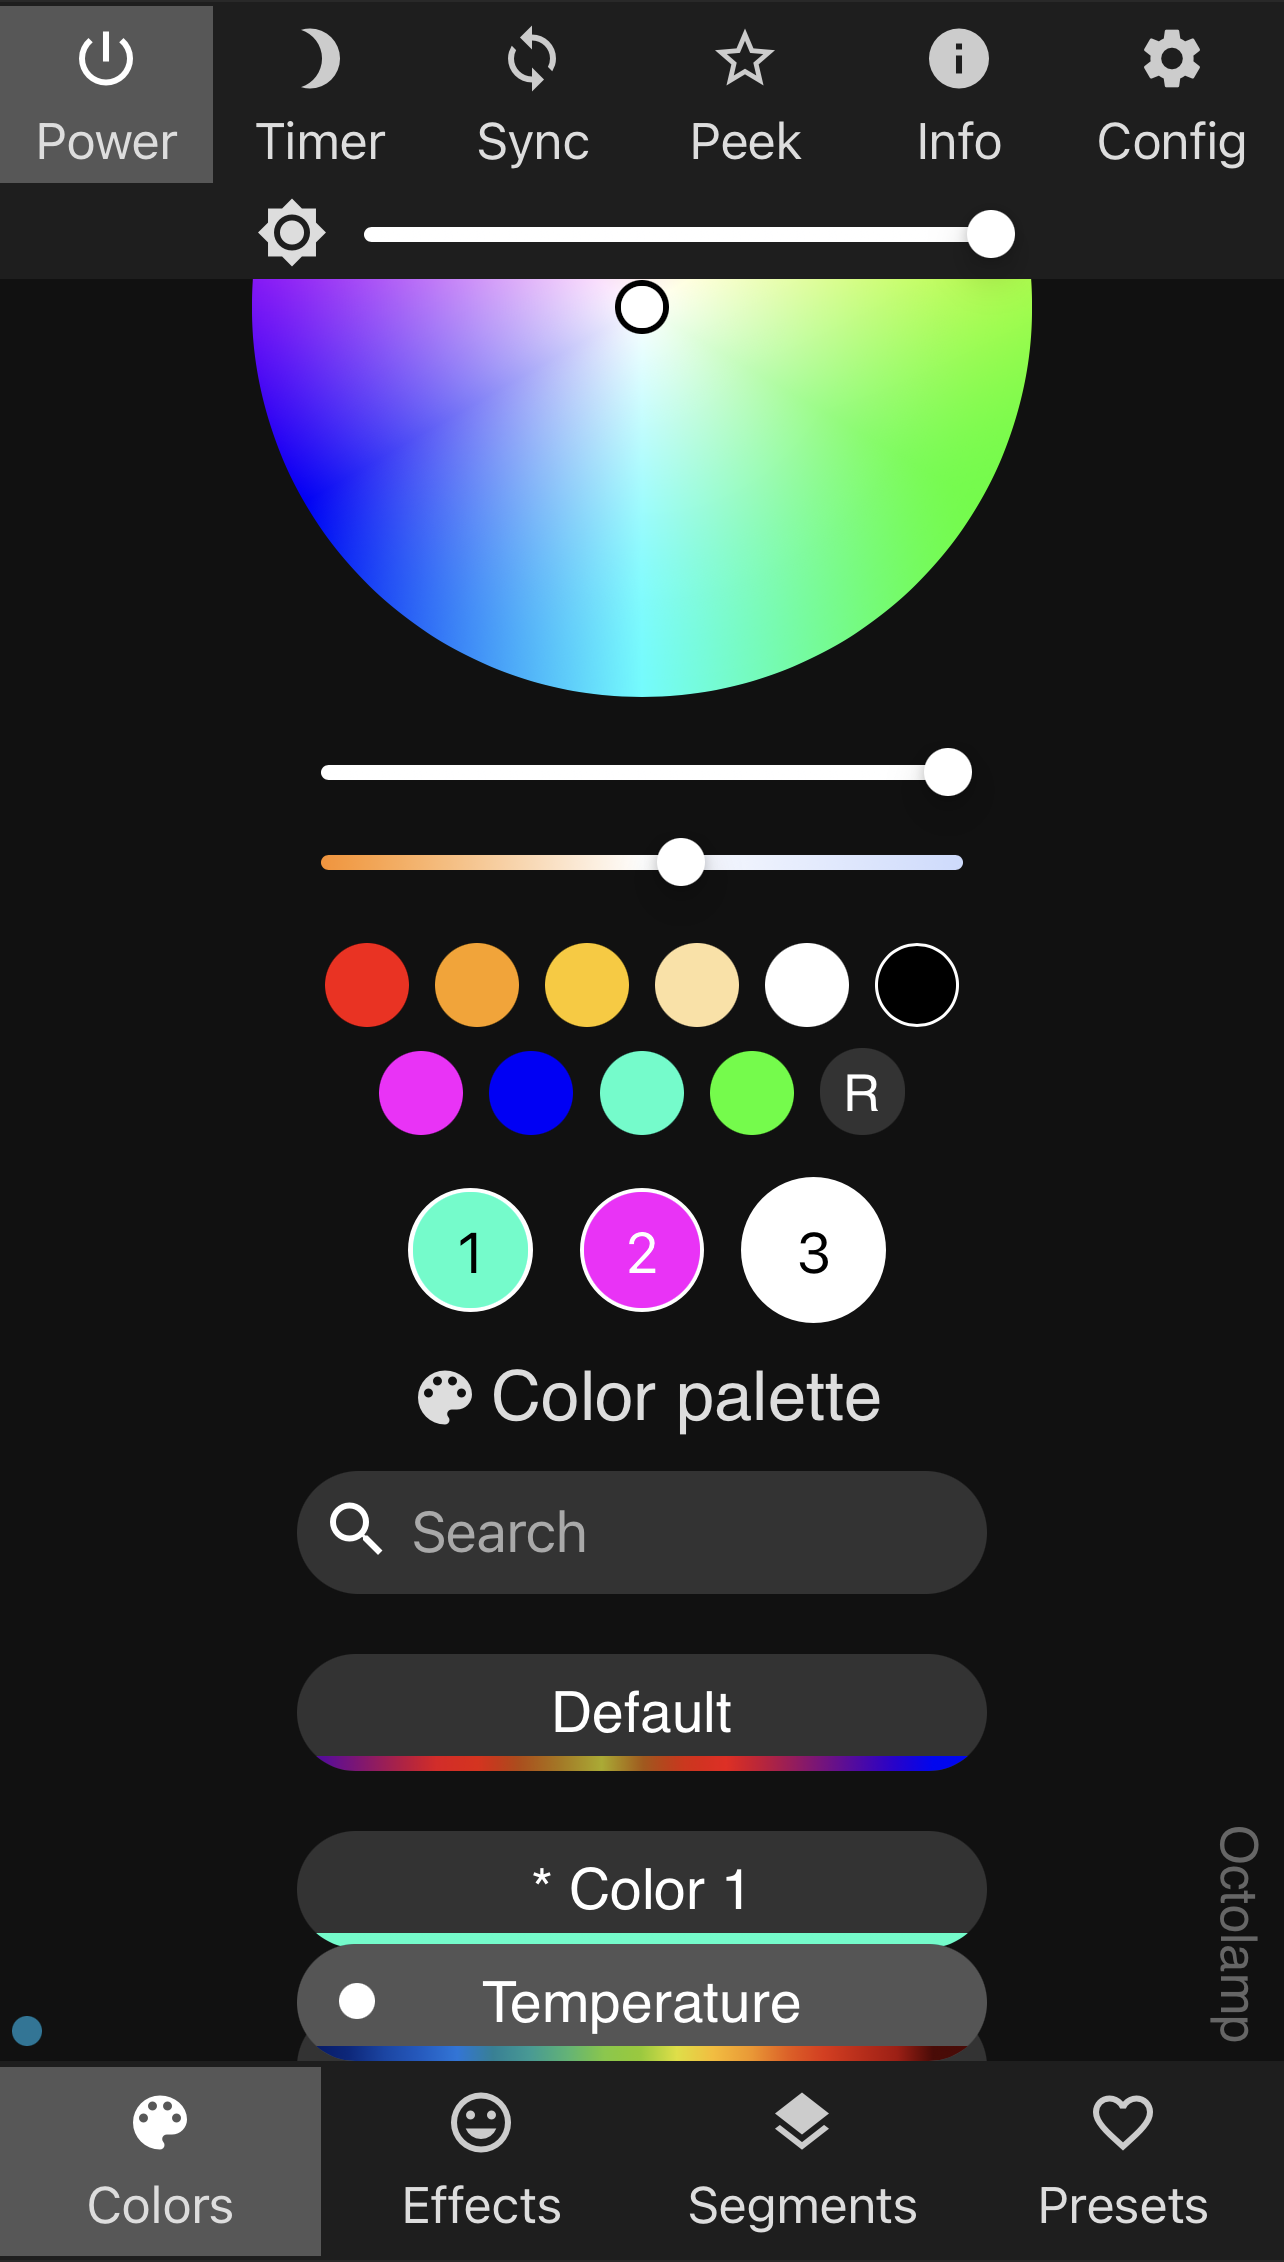
After the rest was printed and I was confident in the electronics being in place, I finally snapped it all together and turned it on for the first time, it looked MAGICAL. I had set the default light scheme to be a cyan/magenta synth-wave style pattern, and it looked amazing. I was so happy with how it turned out. Only problem I ended up having was that the Duinotech ESP8266 Mini comes with GPIO headers pre-soldered onto the board, which makes it too big to fit inside the Octolamp. I attempted to de-solder them but had trouble removing them, so I am going to instead design and print a base for the Octolamp to sit on that will house the ESP8266 Mini, and have a hole in the bottom for the USB cable to come out of.
I am extremely happy with how the Octolamp turned out, and I am so thankful to Martin for designing it and sharing it with the world. I paid it back, in true GitHub fashion, by contributing to the project with the resources for Australia and some of the extra tips, as well as the base once I have built it as an option for others. I’m not exploring some of the capabilities of WLED and seeing what else I can do with it. I have a few ideas for other projects I want to do with the 3D printer, so stay tuned for more posts about those in the future! I could combine both of these and leverage the OctoPrint API to make the Octolamp light up when a print is in progress, using the ring as a progress meter. So many possibilities!

UPDATE 4/7/2023: After talking about this project with a colleague, he said “Why desolder the connector? They’re cents to replace, cut them off and desolder the individual pins, much easier!”. So I went and did that and the wires are now directly soldered to the board and inside the case as designed! Much neater and easier to put somewhere!